How to make your own Sourdough Starter
Sourdough bread is hugely popular and if you fancy testing my recipe for German sourdough bread but are missing the starter…look no further! I will share with you here how to make your own sourdough starter with just a few simple ingredients! Well, it is just flour and water so you might be able to start right away!
Although the whole process takes a few days it is well worth it. You will be able to bake your own fresh bread with your own sourdough starter.
Ingredients:
1 cup of rye flour
1/2 cup of water
To feed your starter:
1 cup all-purpose flour
1/2 cup of lukewarm water (if you are in a warm climate cold water is better)
How To Make Your Own Sourdough Starter
- Day 1: Combine the rye flour with the cool water in a non-reactive container. For example, you could use glass, crockery, stainless steel, or food-grade plastic. The container should be large enough to hold your starter as it grows; best use a container of at least 1-quart capacity.
- Stir everything together thoroughly; make sure there’s no dry flour anywhere. Cover the container loosely and let the mixture sit somewhere at warm room temperature (about 70°F) for 24 hours.
- Day 2: You may see no activity at all in the first 24 hours. That is absolutely fine! It may be rowing a tiny bit or even bubbling. That’s great! Either way, discard half the starter (4 ounces, about 1/2 cup), and add to the remainder 1 cup of unbleached all-purpose flour. Also, add 1/2 cup cool water (if your house is warm); or lukewarm water (if it’s cold).
- Mix well, cover, and let it rest at room temperature for 24 hours.
- Day 3: By the third day, you should see some activity — it should be bubbling and have expanded a bit. Now you can start with two feedings daily spread over the day as your schedule allows. For each feeding, add 4 ounces starter; which is a generous 1/2 cup, once it’s thoroughly stirred down. Discard any remaining starter.
- Add a 1 cup (4 ounces) unbleached all-purpose flour, and 1/2 cup water to the 4 ounces starter. Mix the starter, flour, and water, cover, and let the mixture rest at room temperature for approximately 12 hours before repeating.
- Day 4: Weigh out 4 ounces (1 cup) starter, and discard any remaining starter. Repeat step #6.
- Day 5: Weigh out 4 ounces (1 cup) starter, and again discard any remaining starter. Repeat step #6. By the end of day #5, the starter should have at least doubled in volume. You should see lots of bubbles. Also, the starter should have a bit of a tangy aroma — slightly acidic, but not overpowering. If your starter hasn’t risen much and isn’t showing lots of bubbles, repeat discarding and feeding every 12 hours on day 6, and day 7, if necessary — as long as it takes to create a vigorous (risen, bubbly) starter.
- Once the starter is ready, give it one last feeding. Discard all but 4 ounces (a generous 1/2 cup). Feed as usual. Let the starter rest at room temperature for 6 to 8 hours; it should be active, with bubbles breaking the surface.
- Remove however much starter you need for your recipe — typically no more than 8 ounces, about 1 cup. If you need more than that either give it a couple of feedings without discarding until you’ve made enough for your recipe plus 4 ounces to keep and feed again.
- Transfer the remaining 4 ounces of starter to a jar or some other container. Keep it in your fridge and if you have a screw-on lid put it on loosely rather than airtight.
Have you tried making your own starter? Share your experience in the comments!
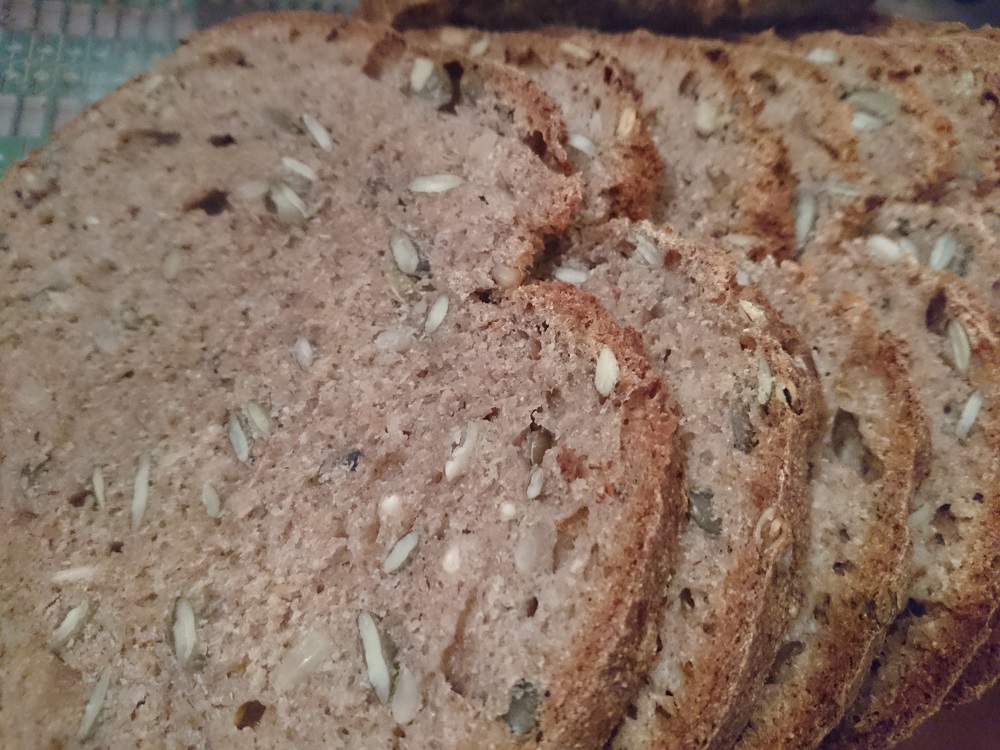
You may want to try how to make your own sourdough bread now. Check out my recipe for German sourdough bread. And if you want some advice on how to store your homemade bread have a look here.
If you enjoyed the recipe and want to find more head over to my recipe section and join my Facebook Group which focuses on homemade vegan recipes that are affordable and healthy.