For a while, I wanted to make my own homemade pasta. I don’t have a pasta maker but I figured you don’t need and I can tell you, no, you don’t need one. You may need a bit more time but I found it was …
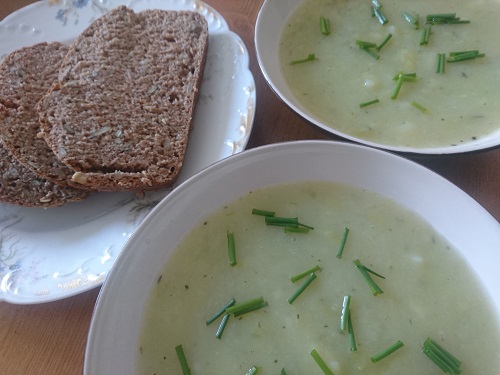
Last week, I found I still had some potatoes that needed to be used up. I used to make soups all the time but recently not so much so I pulled out my immersion stick blender for this oldie but goldie of recipes. This easy …
Currently, I’m trying to find simple recipes that I can use for a variety of dishes. I used to love pesto for pasta or as a mixture with cheese in my pre-vegan days. So I have been on the lookout for some nice option to make a vegan pesto version. My first try was this vegan spinach and pumpkin seed pesto as these are the ingredients I had at home and with London in lockdown these days I did not want to wait for my next shopping run. I am trying to use as many pantry ingredients as I can and come up with new recipes.
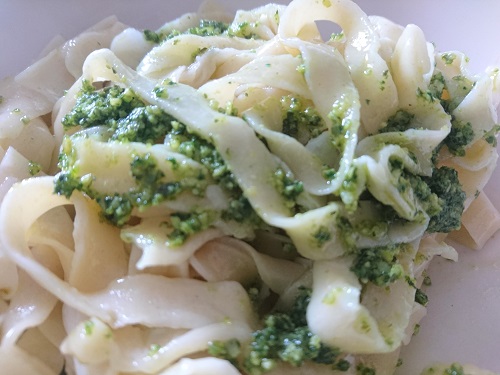
The idea for this recipe came because I wanted to make my own fresh vegan pasta. The combination of pasta and vegan pesto is just delicious and this pesto is actually really quickly prepared.
In the end, I also used the remaining vegan spinach and pumpkin seed pesto as a filler for my vegan empanadas. They turned out great and they are a great meal which can easily be frozen and defrosted when needed. I always like having a few empanadas in the freezer for those days when I don’t feel like cooking or preparing anything.
Vegan Spinach And Pumpkin Seed Pesto
The recipe couldn’t be any easier. All you need is a food processor and it will only take a few minutes to whizz together this pesto.
Ingredients
1 cup raw pumpkin seeds, hulled and toasted
¼ cup chives, fresh if you have and coarsely chopped
¼ cup plus 2 teaspoons extra-virgin olive oil
½ teaspoon salt
½ teaspoon black pepper
1 teaspoon lemon juice
2½ cups baby spinach (packed tightly), fresh
1 garlic clove
Instructions
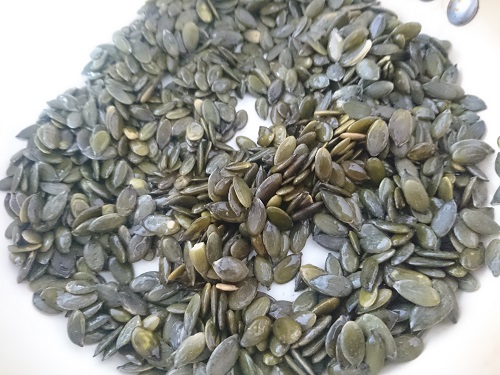
Heat a small pan with 2 teaspoons of olive oil over medium heat. When the oil is hot, add the pumpkin seeds. Heat them for about 4 minutes, until they start to smell slightly nutty and change colour. Stir them often.
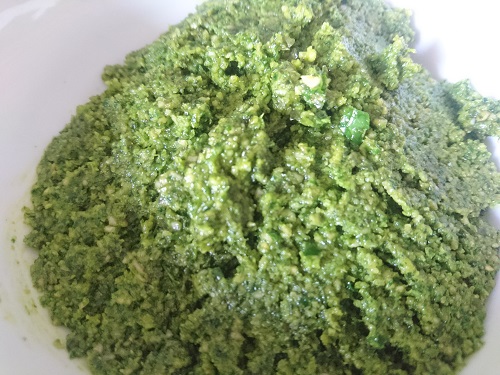
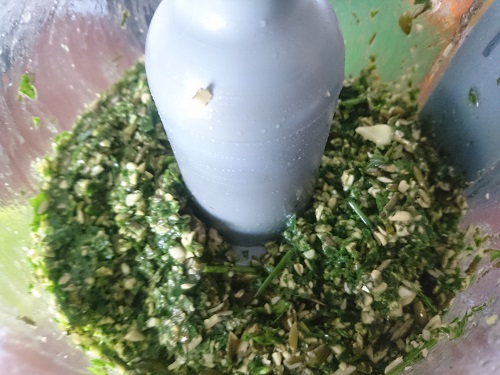
Now in the food processor, combine the toasted pumpkin seeds, chives, oil, garlic, salt, black pepper, lemon juice, and baby spinach. Pulse until the mixture is well combined. Push it down with a spoon if necessary. Taste and add more salt and pepper if needed.
Heating the pumpkin seeds in the pan
Had to push down the mixture a few times so the pesto had the right consistency in the end.
Yes, it really is this simple! What are you going to use this simple pesto recipe with? Share it in the comments below.
If you enjoyed the recipe and want to find more head over to my recipe section and join my Facebook Group which focuses on homemade vegan recipes that are affordable and healthy.
This vegan empanada dough recipe is so easy to make I am sure it will become one of your go-to recipes in no time. I love how versatile empanadas are and they make a great side or if you are like us also a great …
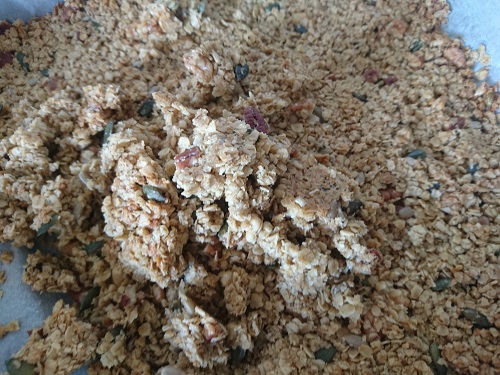
For breakfast, I like varying what I eat. Sometimes when I have enough time I will make my vegan pancakes, if it has quick I just grab a few oat breakfast bars before work. However, my go-to breakfast is this easy homemade granola recipe with …
For breakfast, I usually eat my homemade granola with my oat milk but for those special days when I crave something more special, I always have some English breakfast muffins in my freezer. They defrost quickly and are yummy with so many different toppings depending on what I fancy. They are also amazing just toasted and with vegan butter.
I love the sourdough variety and love preparing these with my sourdough starter that I always keep in the fridge to make my sourdough bread. But don’t worry they will be just as tasty if you use yeast instead.
These English breakfast muffins do take some time to prepare and I tend to make them at the weekend and then freeze them. I only take out as many as I need so they last me a few weeks. They can easily be stored in the freezer for up to 2 months so it’s absolutely worth it in my eyes.
Ensure you have enough time to make these. I recommend to start in the evening to prepare the dough. It will have to rest for at least 8 hours so preparing it the evening before is perfect.
All you need for the first step is your sourdough starter and the vegan milk. Combine these in a bowl and stir to incorporate. Then cover your bowl with a clean tea towel and let it sit for at least 8 hours.
The next morning (or after at least 8 hours) add the remaining ingredients. Combine everything in your bowl. Now take the dough and place it on a lightly floured surface. Knead it for about 4 to 5 minutes.
The dough will be easy to handle and should not be sticky. Roll out the dough to about 3/4 inch. Next, you will cut out the muffins. You can use specific muffin cutters for this step or wing it and find something that will give you the size you are aiming for. That could be cookie cutters or in my case, I use a beer glass for this step and it works a really well. So happy to recommend this to you. If you found an alternative please let me know in the comments!
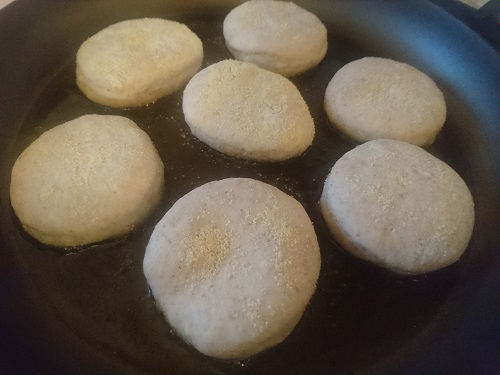
Transfer the muffins to a lightly baking paper or a plate which is dusted with cornmeal. Make sure both sides of the muffins get a light dusting of cornmeal. Leave the muffins to rest for about 45 minutes.
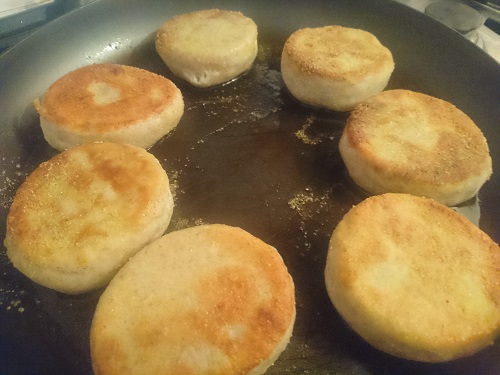
After the muffins have rested for about 45 minutes they are ready to cook! The exciting part! Cook in a pan on each side for about 6-8 min on medium heat or until lightly. They will grow in size slightly. I like to add a few at a time, about 4-5 depending on how many fit your pan.
Once they have achieved the right colour take them off the heat and let them cool down.
Enjoy your homemade English breakfast muffins!
Be creative with the toppings. I do love sweet things so I love to cover them with chocolate or jam. But they go well together with more savoury toppings of course so it is up to your imagination and taste buds how you enjoy them. I could imagine that this vegan cheese would work well or this wonderful spread.
Yield: 8
Vegan English Breakfast Muffins
Made with sourdough discard. Tasty and easy to make. Easy to freeze.
Prep Time10 minutes
Cook Time16 minutes
Additional Time8 hours27 minutes
Total Time8 hours53 minutes
Ingredients
1/2 cup of sourdough starter or discard
2 3/4 cups of unbleached all-purpose flour
1 cup of nut or oat milk
1 tbsp sugar
1 tsp baking powder
3/4 tsp salt
cornmeal for dusting
Instructions
Combine your starter with 2 cups of flour and milk in a bowl.
Stir to incorporate and cover the bowl with a clean tea towel. Let it sit for at least 8 hours.
Add the remaining ingredients. Combine everything.
Place dough on a lightly floured surface and knead for about 4-5 minutes.
Roll out dough to about 3/4 inch.
Cut out muffins ( I use a beer glass for this step and it works well!)
Transfer to a lightly baking paper or a plate which is dusted with cornmeal.
Allow resting for about 45 minutes.
Cook in a pan on each side for about 6-8 min on medium heat or until lightly.
If you enjoyed this English breakfast muffin recipe and want to find other recipes head over to my recipe section and join my Facebook Group which focuses on homemade vegan recipes that are affordable and healthy.
With more countries likely to ask people to stay at home even if they don’t show any symptoms of COVID-19 how are you spending your time? Netflix and co seem to high up on the list but I am sure there are more interesting activities …
Wet wipes are seemingly an easy way to clean around the house and are everywhere. Unfortunately, they then get binned and land in landfill. Considering how many most of us use on a regular basis it is time to think about alternatives to wet wipes. …
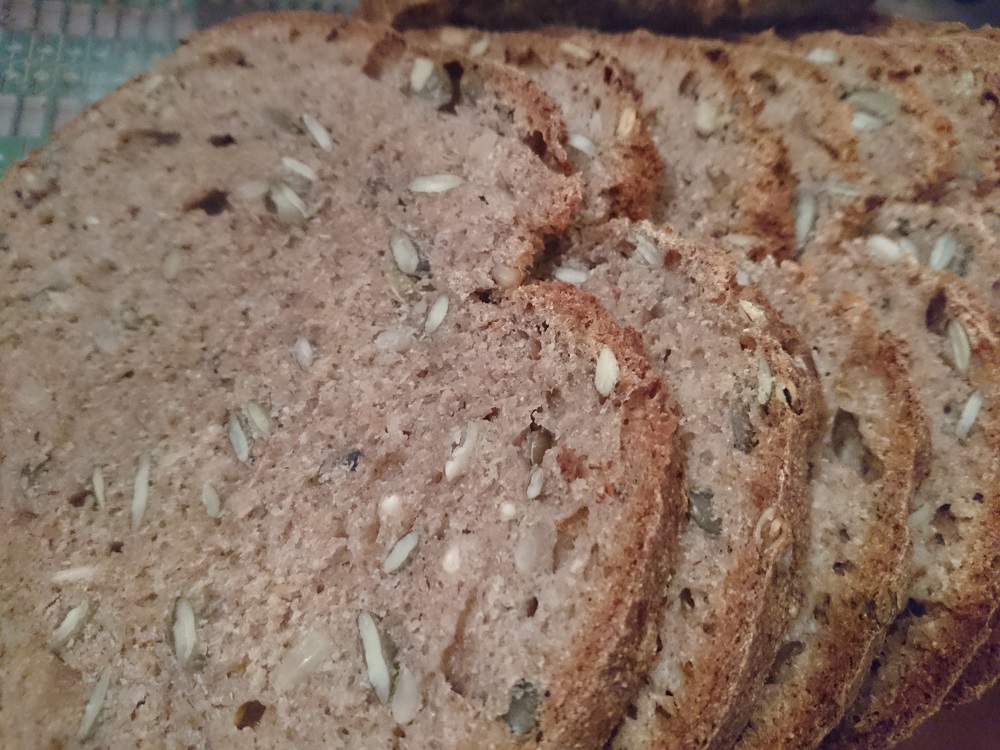
Sourdough bread is hugely popular and if you fancy testing my recipe for German sourdough bread but are missing the starter…look no further! I will share with you here how to make your own sourdough starter with just a few simple ingredients! Well, it is just flour and water so you might be able to start right away!
Although the whole process takes a few days it is well worth it. You will be able to bake your own fresh bread with your own sourdough starter.
Ingredients: 1 cup of rye flour 1/2 cup of water
To feed your starter: 1 cup all-purpose flour 1/2 cup of lukewarm water (if you are in a warm climate cold water is better)
How To Make Your Own Sourdough Starter
Day 1: Combine the rye flour with the cool water in a non-reactive container. For example, you could use glass, crockery, stainless steel, or food-grade plastic. The container should be large enough to hold your starter as it grows; best use a container of at least 1-quart capacity.
Stir everything together thoroughly; make sure there’s no dry flour anywhere. Cover the container loosely and let the mixture sit somewhere at warm room temperature (about 70°F) for 24 hours.
Day 2: You may see no activity at all in the first 24 hours. That is absolutely fine! It may be rowing a tiny bit or even bubbling. That’s great! Either way, discard half the starter (4 ounces, about 1/2 cup), and add to the remainder 1 cup of unbleached all-purpose flour. Also, add 1/2 cup cool water (if your house is warm); or lukewarm water (if it’s cold).
Mix well, cover, and let it rest at room temperature for 24 hours.
Day 3: By the third day, you should see some activity — it should be bubbling and have expanded a bit. Now you can start with two feedings daily spread over the day as your schedule allows. For each feeding, add 4 ounces starter; which is a generous 1/2 cup, once it’s thoroughly stirred down. Discard any remaining starter.
Add a 1 cup (4 ounces) unbleached all-purpose flour, and 1/2 cup water to the 4 ounces starter. Mix the starter, flour, and water, cover, and let the mixture rest at room temperature for approximately 12 hours before repeating.
Day 4: Weigh out 4 ounces (1 cup) starter, and discard any remaining starter. Repeat step #6.
Day 5: Weigh out 4 ounces (1 cup) starter, and again discard any remaining starter. Repeat step #6. By the end of day #5, the starter should have at least doubled in volume. You should see lots of bubbles. Also, the starter should have a bit of a tangy aroma — slightly acidic, but not overpowering. If your starter hasn’t risen much and isn’t showing lots of bubbles, repeat discarding and feeding every 12 hours on day 6, and day 7, if necessary — as long as it takes to create a vigorous (risen, bubbly) starter.
Once the starter is ready, give it one last feeding. Discard all but 4 ounces (a generous 1/2 cup). Feed as usual. Let the starter rest at room temperature for 6 to 8 hours; it should be active, with bubbles breaking the surface.
Remove however much starter you need for your recipe — typically no more than 8 ounces, about 1 cup. If you need more than that either give it a couple of feedings without discarding until you’ve made enough for your recipe plus 4 ounces to keep and feed again.
Transfer the remaining 4 ounces of starter to a jar or some other container. Keep it in your fridge and if you have a screw-on lid put it on loosely rather than airtight.
Have you tried making your own starter? Share your experience in the comments!
You may want to try how to make your own sourdough bread now. Check out my recipe for German sourdough bread. And if you want some advice on how to store your homemade bread have a look here.
If you enjoyed the recipe and want to find more head over to my recipe section and join my Facebook Group which focuses on homemade vegan recipes that are affordable and healthy.
This website uses cookies to improve your experience. We'll assume you're ok with this, but you can opt-out if you wish. Cookie settingsACCEPT
Privacy & Cookies Policy
Privacy Overview
This website uses cookies to improve your experience while you navigate through the website. Out of these cookies, the cookies that are categorized as necessary are stored on your browser as they are essential for the working of basic functionalities of the website. We also use third-party cookies that help us analyze and understand how you use this website. These cookies will be stored in your browser only with your consent. You also have the option to opt-out of these cookies. But opting out of some of these cookies may have an effect on your browsing experience.
Necessary cookies are absolutely essential for the website to function properly. This category only includes cookies that ensures basic functionalities and security features of the website. These cookies do not store any personal information.
Any cookies that may not be particularly necessary for the website to function and is used specifically to collect user personal data via analytics, ads, other embedded contents are termed as non-necessary cookies. It is mandatory to procure user consent prior to running these cookies on your website.