The plant-based diet focuses on foods sourced from plants and many people new to this diet will wonder what they can eat. No don’t worry you won’t just have to eat salads all the time, the plant-based diet is much more varied than that. Below …
Personally, I follow the no discard routine. I only feed my sourdough starter before baking a new loaf to ensure I have an active starter. This works well for me but I know there are some people out there you like to keep their sourdough …
Disclaimer: This post contains affilitate links – I will earn a commission if you buy any item.
Not only is oat milk very cheap and locally produced but it is also a more eco-conscious choice than say, almond milk. Making your own oat milk is surprisingly easy but storing homemade oat milk and cleaning the bottle afterwards can be a bit tricky so I wanted to shed some light on this in this blog article. For a while, I am making my own homemade oat milk. I usually prepare it at the weekend and store it in a glass bottle for the week.
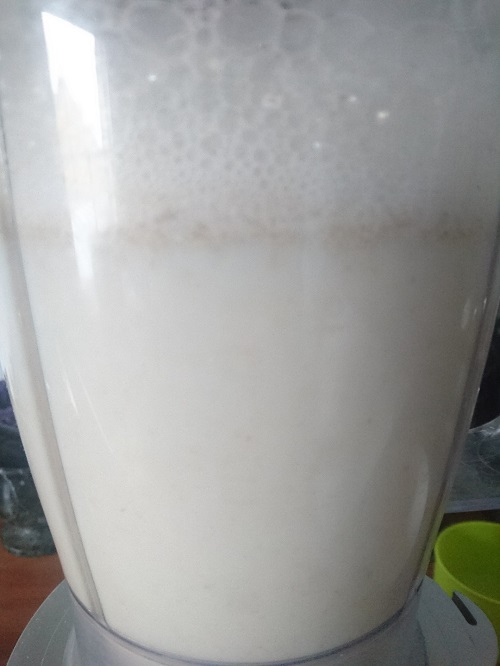
I buy my oats in a cardboard box which is easy to recycle and easy to store. Only when I need the oat milk will I get my blender out and prepare about a litre for the upcoming week. That is enough for me as I only use it with my granola or every now and then to make a fresh batch of English breakfast muffins. You may need more if you also use it in coffee or for other recipes.
Storing Homemade Oat Milk
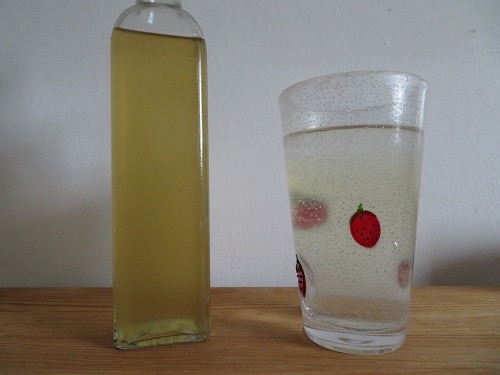
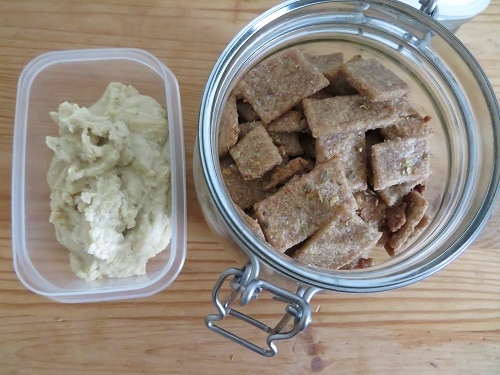
The best way to storing homemade oat milk is to store it in some glass container. Maybe you already have something suitable at home. Have a look around to see if you have a bottle that you can repurpose to store your oat milk. I have a glass bottle which I repurposed for this use. I’ve heard other people use Kilner bottles and that works well for them.
Ideally, find some sort of container with a large opening – it will make cleaning so much easier. The one drawback of the glass bottle that I currently use is the small opening which makes cleaning it a bit harder. However, there are effective solutions for this in case you also just have a glass bottle as I do. Read on to find out more!
If you don’t have either you could use any other container that makes it easy to pour the oat milk when you need it. Make sure it fits your fridge well so you can make the most of the storage in your fridge.
However, there is one problem, especially with bottles that I have experienced as well. How do you clean them effectively without any residue? It is pretty difficult to reach all areas of a bottle even with a bottle brush at times. I have that problem with the current bottle that I use so I had to find some easy ways of cleaning it effectively. Luckily there are quite a few options so I am sure one of them will work for you as well.
Cleaning The Bottles
There are different methods but they mostly use the same process. Some water, washing up liquid and some dried rice (or maybe lentils or peas could work as well) and shake the mixture vigorously. Basically the grains will act as a scourer on the inside and bottom of the bottle or jar that you want to clean. Make sure you close the container well. I accidentally didn’t close it properly once and it was a right mess. Don’t add too much water when using this method as the rice should be quite concentrated in one place to be abrasive.
I’ve used this method in the past and it works really well. So happy that I found out about it!
Alternatively, you may want to use baking beans for the same effect. I’ve also heard that people use salt with some water but I have not tried it yet.
Did you try any of these methods? How did it go? Did I forget any good alternative method? If you have a great tip for storing homemade oat milk please comment below and I am happy to add it.
The usual breakfast routine for me is granola and oat milk, both homemade. A great option for the busier weekdays. However, for special occasions, we love making this quick vegan palmiers recipe. Traditionally more of a sweet snack for the afternoon, we have discovered it …
At the end of May up until the end of June, you will have seen the elderflower trees flower here in the UK. It is a great opportunity to go foraging and collect some of the scented elderflower sprays. If you ever wondered what you …
One of my rituals every week is baking my own bread with sourdough starter. Now personally I follow the no discard rule as I hate wasting anything and the bread still turns out fine. I’m also a bit lazy and don’t want to feed my starter all the time. However, I know a lot of people produce discard so I want to share a few recipes that can use up the discard. Here is a favourite of mine: sourdough crackers for snacking!
Sourdough Discard
If you want to ensure that your sourdough starter is always fresh and ready to bake you will feed it and produce discard. Personally, I only feed it before I bake so avoid the whole discard issue. If I want to bake something, like my English breakfast muffins, I just produce a bit more of my sourdough starter when I feed my sourdough starter before baking.
Sourdough Discard Recipes
There are quite a few great recipes you can follow if you need to use up discard. You can make English breakfast muffins, these sourdough crackers, normal muffins and so much more! I will share more recipes when I try them.
Sourdough Crackers
Yield: About 100 crackers
Vegan Sourdough Crackers
Make this snack with your sourdough discard. It is great for hiking trips or picnics and goes well with vegan spreads, cheese or hummus.
Prep Time6 minutes
Cook Time14 minutes
Additional Time6 hours
Total Time6 hours20 minutes
Ingredients
1 cup whole wheat flour
1/2 tsp salt
1 cup sourdough starter
1/4 cup olive oil
Toppings: coarse salt and rosemary (optional)
Instructions
Combine starter and oil then add the dry ingredients.
Knead the dough a few times to incorporate the flour.
Cover and let rest for 6 hours.
Preheat oven to 175°C.
Flour surface and roll out half the dough on parchment paper. The dough should be about 2mm. Then cut with a knife or I often use a pizza cutter into bite-sized pieces.
Brush with olive oil and sprinkle with salt and rosemary.
Bake for 6-8 minutes, turn crackers and bake for 6-8 more minutes
Transfer to a cooling rack. Store in a glass. They also freeze well.
Have you tried this vegan sourdough crackers recipe? Share it in the comments!
If you enjoyed the recipe and want to find more head over to my recipe section and join my Facebook Group which focuses on homemade vegan recipes that are affordable and healthy.
Disclaimer: This post contains affilitate links – I will earn a commission if you buy any item. I love making empanadas and have started recently to make them vegan. My partner is vegan and I just wanted to come up with a few new vegan …
Whenever I tried vegan cheese so far I was not sold. It is expensive and the consistency and taste never seemed quite right. I decided to make my own soft vegan cheese spread to use with my sourdough bread and as an empanadas filling. This …
This vegan sundried tomato spread is full of flavour and so quick to make. It will take you less than 10 minutes in total. The ingredients are easy to find and a food processor is all you need. This simple vegan spread recipe will convince you to make more vegan spreads. It really is that easy!
Sourdough crackers, vegan cheese and vegan sundried tomato spread
If you want to swap the cashew nuts of other types of nuts go for it! The beauty of this recipe is how versatile it is if you want to include new flavours or ingredients.
The spread was a great hit it our household. Try it with freshly baked sourdough bread or as a dip!
I have a normal food processor and it was powerful enough to make a wonderful smooth spread in a few minutes. In total it was about 5 minutes. Twice I scraped the sides of the food processor and I added a little bit more olive oil.
It would also go well as a filler with vegan cheese in these delicious empanadas. Get creative and share your ideas how to use this simple vegan spread in the comments.
Vegan Spread Recipe
Yield: Approx. 24 servings
Vegan Sun-Dried Tomato Spread
Delicious vegan spread or dip which goes well with sourdough bread.
Prep Time10 minutes
Total Time10 minutes
Ingredients
100 g sundried tomatoes
70 g cashew nuts
1 clove garlic
1 tbsp oregano
1 tsp salt
100 ml olive oil
Instructions
Place all ingredients in your food processor and blend until smooth. This will take a few minutes. If needed add some more olive oil.
This is what the mixture looked like after about 30 seconds of processing. In all it took about 2 minutes to get to a wonderful creamy consistancy.
Have you tried this simple vegan spread recipe? How did you like it? Leave a comment below.
If you enjoyed the recipe and want to find more head over to my recipe section and join my Facebook Group which focuses on homemade vegan recipes that are affordable and healthy.
Chips (or crisps as they say here in Britain) used to be a staple at my house. The pre-packaged kind and not very good for you. A few years ago I looked for alternatives and stumbled upon delicious kale chips. I was not convinced it …
This website uses cookies to improve your experience. We'll assume you're ok with this, but you can opt-out if you wish. Cookie settingsACCEPT
Privacy & Cookies Policy
Privacy Overview
This website uses cookies to improve your experience while you navigate through the website. Out of these cookies, the cookies that are categorized as necessary are stored on your browser as they are essential for the working of basic functionalities of the website. We also use third-party cookies that help us analyze and understand how you use this website. These cookies will be stored in your browser only with your consent. You also have the option to opt-out of these cookies. But opting out of some of these cookies may have an effect on your browsing experience.
Necessary cookies are absolutely essential for the website to function properly. This category only includes cookies that ensures basic functionalities and security features of the website. These cookies do not store any personal information.
Any cookies that may not be particularly necessary for the website to function and is used specifically to collect user personal data via analytics, ads, other embedded contents are termed as non-necessary cookies. It is mandatory to procure user consent prior to running these cookies on your website.